Five to 10 years ago, creating a membership website meant buying into an all-in-one membership system that came with its own proprietary content management system. Some might ask what was so wrong about an all-in-one membership solution? Seems like it might be nice to get support from just one vendor, right?
But the downsides were huge:
- You were limited to the design templates your provider offered, or you could pay top dollar to submit your own designs to them to execute.
- Expensive contracts were the norm.
- Organizations were stuck with a website design for a long time.
- You often had to ask the solution provider to make menu changes for you.
- Once you learned this proprietary CMS, that knowledge was of no use elsewhere.
- Integrations with other services like Quickbooks were typically nonexistent.
- You have never seen an email marketing function as frustrating or clunky as the ones that were built into these systems. They never measured up to real email marketing competitors and ignored the mobile email trend for years.
- You were limited to the features offered by the membership software platform; there was no plugin ecosystem with more than 50,000 ways to extend your website.
Thankfully those days are over; now we have WordPress and a sea of membership plugins to choose from. The upsides from this are huge – clubs and membership organizations of all sizes and types can now access affordable, powerful membership software that integrates seamlessly into their existing WordPress websites.
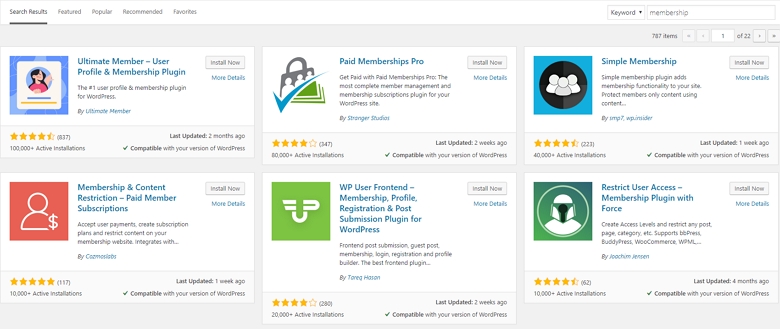
Step 1: Choose a membership plugin
The first question to ask is, “What type of membership website am I creating?” Are you a networking group, a nonprofit club, yacht club, golf club, social club or some other type of membership organization? There are highly specialized membership platforms that are designed for some types of clubs such as gyms and golf clubs, but many groups can get by with broader-based membership management software that is significantly less expensive.
Note your budget and your wish list as you begin to do your research. Maintaining a comparison spreadsheet will help you keep track of the various vendors under consideration. It’s a good idea to do demos of any top contenders so you can see the membership plugin in action. Some of the columns a typical club would have in their comparison spreadsheet might include:
- Plugin name/URL
- Startup, Ongoing, Support fees
- Free trial offer
- Support options
- Online event registration
- Donation form
- Member directory (public/private/either?)
- Member only content/event/tickets
- Member billing options (auto-recurring, one time, checks, etc.)
- Shopping cart, invoicing options, payment gateway integrations
- Method for messaging members
- WordPress hosting available
- Where is member data stored?
- Is the plugin a SaaS?
- Integrations like accounting software such as Quickbooks and Xero.
Plugin criteria will vary from organization to organization. Putting in some time up front to create an extensive list of features on the spreadsheet will save you from having to backtrack with vendors later.
Step 2: Sign up for a free trial (if available)
Although a demo can tell you a lot, actually installing and using a membership plugin through a free trial can help you really know if it will work for your organization. It’s much better to find out early on if a plugin won’t work. Imagine that you are getting ready to launch your new membership system and your VP of membership asks, “But can it do XYZ?” And it can’t. At that point, you’ll be forced to either change systems or negotiate a change in process with your colleague.
Step 3: Set up the payment gateway
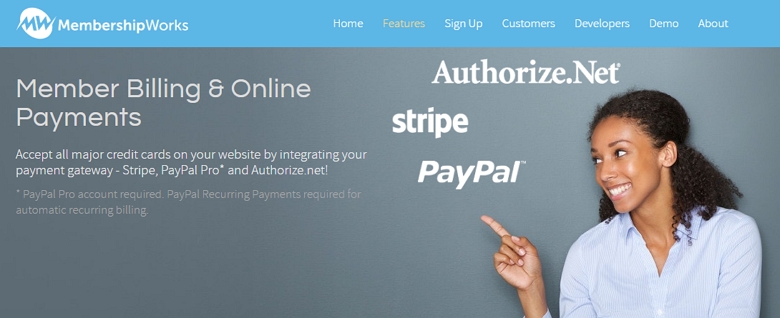
Accepting online payments means connecting to a payment gateway like Stripe, Authorize.net or PayPal. Note that when we are talking about PayPal in this context, we are talking about the Pro version that has a monthly fee, not the free version. These payment processors will collect funds online and transfer to your bank account. Most membership systems will have transactions occur within your website versus taking the member elsewhere to complete the transaction. Your membership plugin will have a place in the back end to connect to your chosen gateway.
Step 4: Build pages
It may sound premature to build your pages for things like your event calendar, directory, membership signup form and login page before you have even created your membership levels, but it’s actually a great idea (assuming your membership software agrees – they might prefer a different approach). Some membership plugins will offer you WordPress shortcodes to use to build these pages. Once you have placed the shortcodes on your website, you’ll begin to see how the software works. And once you do start adding in your events, membership levels, etc., you will have a place to go and see the member’s view to check your work.
Step 5: Set up membership levels
If you have a paper form or PDF, you can use that information as a guide to set up pricing and payment options for each membership level. You’ll enter payment intervals such as annual or monthly for your various billing options. If you have a trial period or new member fee, that information will probably be entered here too. There will be a place to set up reminders to be emailed to members at renewal time. It’s best to customize any generic text your software might provide so that it feels more custom to your club and mentions your benefits.
Step 6: Set up labels, tags or member categories
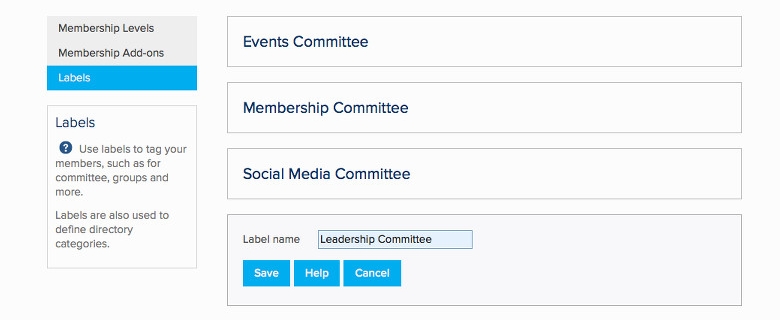
Different membership plugins may have different names for these, but labels are a way you can categorize members. They come in handy when creating a directory of members with a search function. Labels can also be set up for internally classifying members such as those who have volunteered.
Step 7: Customize your member forms
Your membership plugin will likely offer default fields such as name, email, address, phone, etc., but your club likely wants to know more than the basics about each member. Don’t ask for too much information up front for new members though – you want to be aware of possibly reducing your form conversion rate. Look for ways to ask them for more information later, such as when they are filling out their directory profile.
Step 8: Prepare and import your member spreadsheet
You can skip this step if your organization or startup is new and has no members yet. At minimum you will need to bring in the member names, email addresses, membership levels and renewal date. Without this information, members can not be emailed renewal notices. It isn’t a bad idea to bring in historical information such as join date and further details about your members. If you can save them from having to completely rebuild their online profile, they’ll thank you for it.
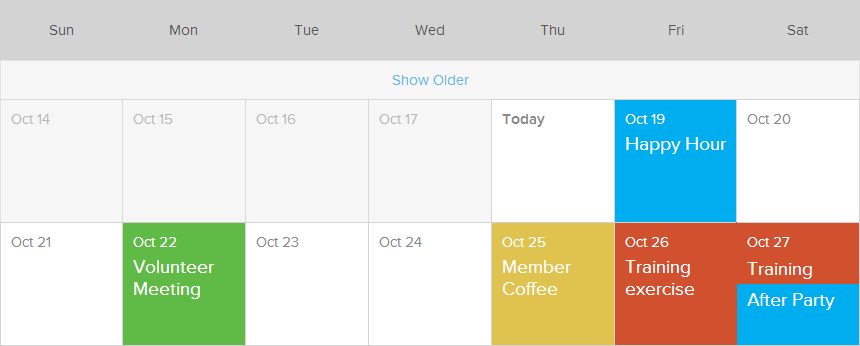
Step 9: Set up your events
This will involve creating event categories like lunches, happy hours, annual meetings, etc. Every group has their own needs in this regard. Once you have created your categories you can start adding in events. Your membership plugin should allow you to set up member only tickets and member only events as needed.
Step 10: Customize the directory
During this step it’s important to have a second tab or browser window open to see your work as you make changes in the back end. Some directories allow for customization of the search feature by criteria such as:
- Keyword
- Location
- Labels
- Custom fields
Step 11: Buy and apply an SSL certificate
It’s launch time! But first, your payment gateway and your members demand a secure website for credit card transactions. Your website hosting provider can help you obtain and install an SSL certificate if your website’s URL says “http” instead of “https”. Some hosts sell certificates and the process is most smooth when you buy a certificate from them. Then you only have one support call to make instead of getting two providers to work with each other. After installing the certificate, the Force HTTPS plugin is one you might install to be sure all pages are loading securely.
Step 12: Test
Don’t send members to an untested site! Be sure to conduct a real credit card transaction on the member signup form. You can refund yourself afterward. Be sure that the transaction shows up in your membership software (in the form of a new member who has an expiration date assigned) and that you see money come to your payment gateway.
If you build it, will they come?
Now that you’ve built the site, it’s time to get in marketing mode to gather club members. The mantra, “If you build it, they will come,” does not apply to websites. Hopefully, you already have an email list, a Facebook group or other social media platform where you have begun to build a community online. Create a launch announcement and ask those who are already part of your communities or are followers to help you spread the word. These channels will be invaluable to use in promoting your newly-launched site. If your club is geographically located in one location, consider inviting people to a launch event to kick off your club and spur membership recruitment. It’s time to celebrate!