Table of contents
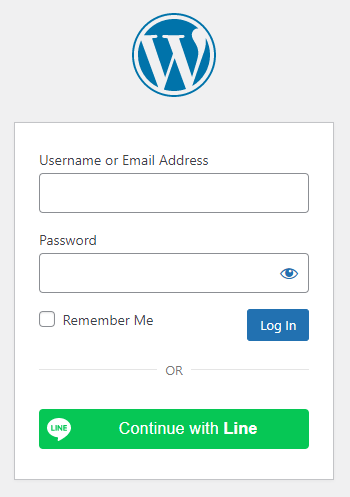
How to enable Line login in WordPress
1. Create a Line App
To be able to log in via Line you must create a Line app first.
- Navigate to https://developers.line.biz/console/
- Log in with your Line business account if you are not logged in.
- Click the “Create a new provider” button.
- Fill the “Provider name” field and click the “Create” button.
- Under the “Channels” panel select the “Create a LINE Login channel” option.
- Make sure “LINE Login” is selected as “Channel type”.
- For “Provider” choose the provider from the list, that you just created.
- Select your “Region”.
- Add your “Channel icon”, “Channel name” and “Channel description”. These will appear on your Consent Screen!
- At the “App types” select the “Web app” option.
- Read and consent to the “LINE Developers Agreement”, then click the “Create” button.
- Scroll down to “OpenID Connect”, click the “Apply” button near the “Email address permission” label.
- Fill out the form, then click the “Submit” button.
- Scroll up to the top of the page and choose the “LINE Login” section.
- Into the “Callback URL” field, add the URL that Nextend Social Login suggests in the backend.
- Under your App name click the “Developing” button and publish your Channel!
- Go to the “Basic settings” tab and find the necessary “Channel ID” and “Channel secret” values and fill these fields in the plugin settings!
2. App setup
Once your Line app is ready you’ll need to copy and paste the Channel ID and Channel secret to the Line provider’s Settings tab. You can find the information at your Line app’s Basic settings tab.
3. Verifying
Once your Channel ID and Channel Secret has been added you need to verify the setup first. This verification helps you identify possible problems with the app.
Settings
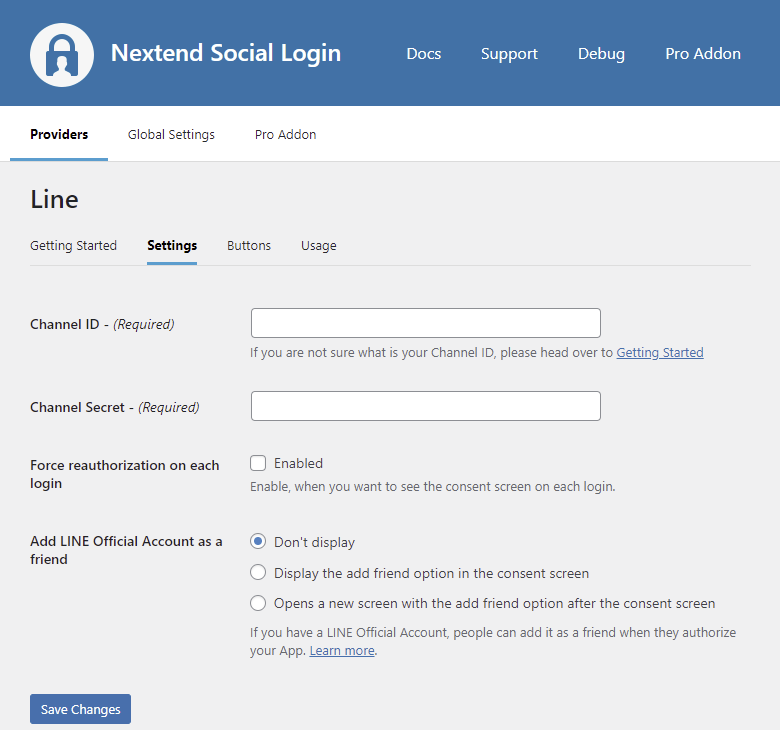
Channel ID
The Channel ID of your Line app. You can find it at your App under the Basic settings tab.
Channel Secret
The Channel Secret of your Line app. You can find it at your App under the Basic settings tab.
Force reauthorization on each login
When this setting is enabled, people will receive the Consent screen on each login.
-Available since: 3.1.2
Add LINE Official Account as a friend
- Don’t display: The consent screen won’t offer your LINE Official account as a friend, even if you have a LINE Official Account selected in your Line App.
- Display the add friend option in the consent screen: The OAuth consent screen will display your LINE Official Account on the same screen where the person authorizes the App. To make this feature work, you need to have a LINE Official Account selected in the Linked OA field of your App.
- Opens a new screen with the add friend option after the consent screen: Once the user authorized your App in the OAuth consent screen, the person will be redirected to a dedicated page where your LINE Official Account will be offered as friend. To make this feature work, you need to have a LINE Official Account selected in the Linked OA field of your App.
-Available since: 3.1.2
Initial Login method
- Email and Password: The default login option in the authentication screen will be the Email / Password form.
- QR code: The default login option in the authentication screen will be the QR code form.
-Available since: 3.1.5
Force initial login method
When this setting is enabled, the LINE authentication form will display only the selected Initial Login method.
-Available since: 3.1.5
Allow Auto login
When this setting is enabled, LINE could automatically authenticate the user using the LINE mobile App session when the authentication request was sent by a browser supported by Line.
However having the Auto login feature enabled, could also make the LINE login fail in certain cases.
On iOS, the login will always fail if this option is enabled due to an iOS – Line bug, and unfortunately Line does not respect the disable_ios_auto_login parameter mentioned in the documentation, if disable_auto_login is also defined, so unfortunately there is no option to enable the auto login option on Android, but not on iOS.
Note: the official documentations state that there are ways to handle the auto login failure, but currently that is not possible, as LINE won’t redirect the user back to the callback URL like they stated in the documentation (as for November 10, 2022).
-Available since: 3.1.8
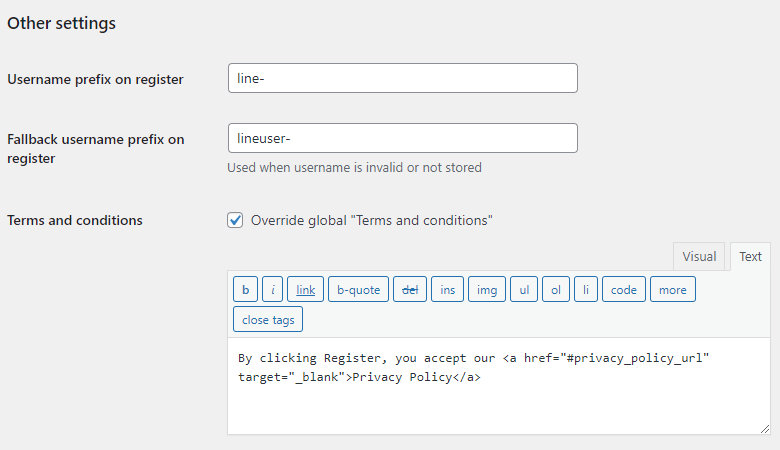
Username prefix on Register
Whenever a new user registers with their Line account they can get a custom prefix so you can easily identify them.
Fallback username prefix on register
Whenever a new user registers with their Line account and we can not generate a valid username from the first name or last name, a random username will be generated. With this option they can get a custom prefix so you can easily identify them.
Terms and conditions
This option can only be seen, if Terms and conditions is set to Show in Global Settings → Privacy tab. Here you can set custom Terms and Conditions for users who register with Line. For more information please read our GDPR documentation.
Frequently Asked Questions
How can people add my LINE Official Account as a friend?
When your visitors connect to your site with the Line provider of Nextend Social Login, you can display your LINE Official Account in the consent screen or after the consent screen, so they could add it as a friend.
If you don’t have a LINE Official Account yet, then you could create one the following way:
- Visit to the Line Developer Console.
- Under the Providers section you should select the App that you configured Nextend Social Login with.
- Click the “Create a new channel” option.
- A modal will appear where you should select the “Messaging API”.
- Upload a Channel icon, then enter a Channel name, Channel Description, select a Category and Subcategory, enter a Privacy policy URL and a Terms of use URL.
- Read the terms of use and then check the two checkboxes
- Press the Create button.
- A modal will be opened, read its contents carefully and press the OK button.
- Once it is done, click the name of your App and select the “LINE Login” channel that you created for Nextend Social Login.
- On the “Basic settings” tab of the channel you will find the “Linked OA” option. Click the “Edit” button, and select the name of the LINE Official Account from the list, that you just created with the Messaging API.
- Press Update.
- Open the backend of Nextend Social Login and on the Settings tab of the Line provider you should chose the option for Add LINE Official Account as a friend that your prefer.
- Press the Save Changes button.
If you already have a LINE Official Account, then you just need to select it in your “LINE Login” channel as Linked OA, and then you can use the “Add LINE Official Account as a friend” setting of Nextend Social Login as it is mentioned above.
How can I get the phone number of the users?
Unfortunately, you can’t. LINE’s API is very limited and it can only return the following data:
- Email Address
- User ID
- Display name
- Avatar
It’s not possible to request phone number or any other data apart from what’s listed above.
Common error messages returned by Line during verification
client_id is incorrect
Invalid client_id. You can use a Channel ID found in a LINE developers site as client_id.
The Channel ID you copied from the Line app is invalid. Make sure the correct one was copied.
client_secret is incorrect
Error: invalid_client: invalid client_secret
The Channel secret you copied from the Line app is invalid. Make sure the correct one was copied.
redirect_uri is incorrect
Invalid redirect_uri value. Check if it is registered in a LINE developers site.
The problem is that the entered Callback Url field is not correct for your app. Check the Callback Url value that you entered into your Line App on the LINE Login tab, and make sure you have the value added that we suggest in the Getting Started section!